Access the Program-wide Data Export
1. On the left, in your Mission Control, click Survey Data.
2. On the right, under Additional Reports, click Group data.
Step 1: What would you like to do?
In this step choose to view data on-screen, export data to Excel, or export data to CVS.
- Choose Export Data to Excel.
- To move to the next step, click Set.
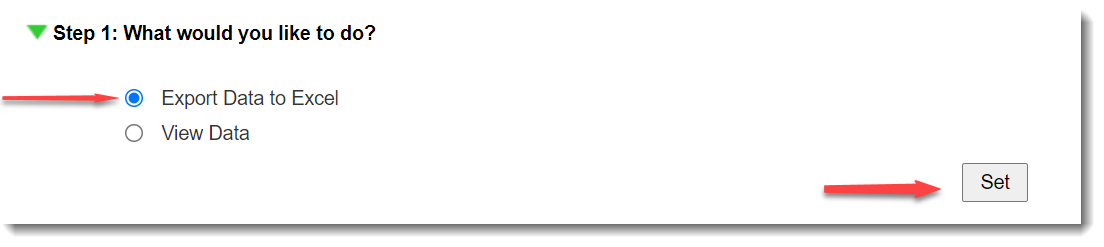
(Need to View Data on-screen? Check out this article.)
Step 2: Select your groups
- Select your Groups.
- To move to the next step, click Set

Step 3: Select the identifiers to include
- Select All identifiers with data
- Make sure All archived students is checked
- Click Select All
- Click Set to move to the next step

Step 4: Select a date range
- Use the drop-down menus to select your start (From) and end dates (To).
- If you need to export data from specific reports during a given period of time, enter that time in the To and From menus, and then select the specific reports by clicking Select specific reports from this period (optional).
- To move to the next step, click Set.

Step 5: Select Data to Include (Saved Selections and Export Options)
Here's where you'll select the specific data points to include.
- Select All Data.
- Click Set to save your selections.

Step 6: Export Raw Data
1. Select Raw Data.
2. Click on items in the Available Columns table using the down arrow to place each column type in the Selected Columns table.
You can include the following:
- Identifier Name
- Question Text
- Survey Launch Date
- Survey Due Date
- Results/Responses
- Site Name
- Any other data you need
3. In the Selected Columns table, on the right, use the up/down buttons to set the order in which the columns will be displayed in your export file.
4. Click Set to save your selections.

Export to Excel
- Once each step has a green check-mark, click Export to Excel.

- A window will appear showing you the progress of the export.
- Keep the window open until the file is ready, or close the window and wait for a download link to show up via e-mail.


Was this article helpful?
That’s Great!
Thank you for your feedback
Sorry! We couldn't be helpful
Thank you for your feedback
Feedback sent
We appreciate your effort and will try to fix the article